One of the biggest issues in many organizations is lack of detection capabilities of lateral movement. We all know the breach will happen at some point, but the real question is will you know when it happens? Most data we have is that we don’t do great on quickly detecting after they get in, the lateral movement problem.
One tool that has been highlighted for this is the honeypot, of which the Canary by Thinkst is highly regarded. But maybe you don’t have 10K to drop on an enterprise deployment, or want to run one in your home environment. Thankfully thinkst has an opensourced implementation of the canary called opencarnary. It may not have the pretty alert console, but what you are left with is a pretty solid alert agent for lateral movement.
Here I’m going to go through a deployment tutorial for opencanary.
Getting Started:
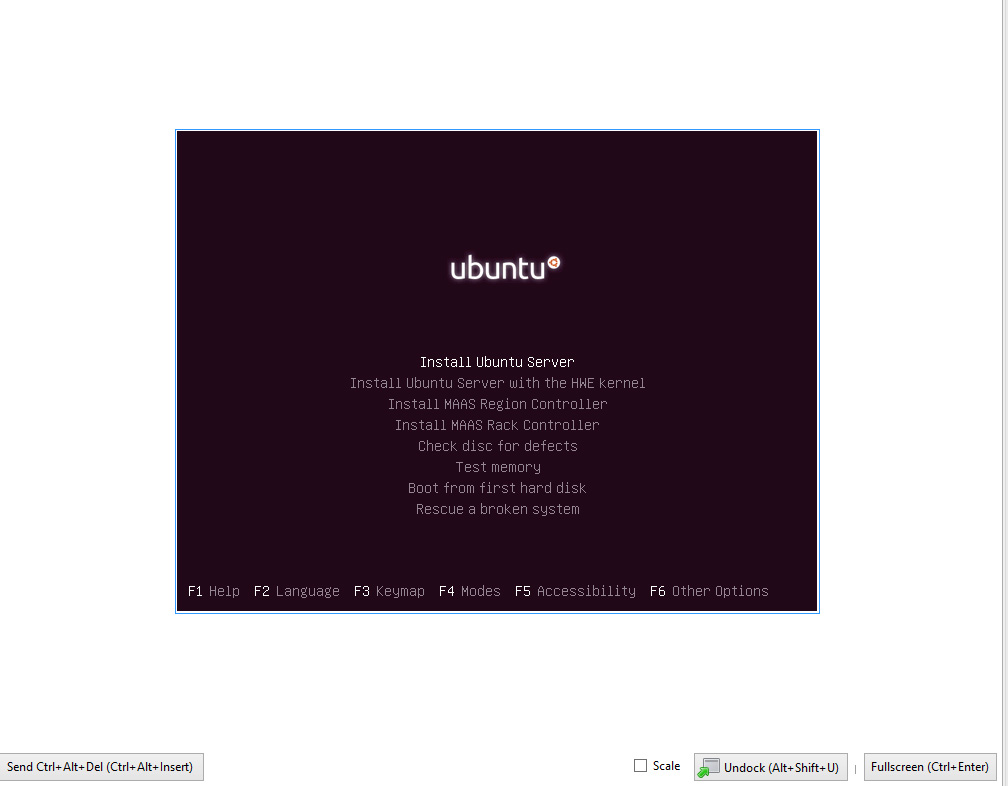
So we will be deploying this on a stock Ubuntu 16.04 server. I am going to assume that you know how to perform a standard Ubuntu server install, I’ll just be highlighting things required for our deployment and of settings necessary to prevent issues during setup.
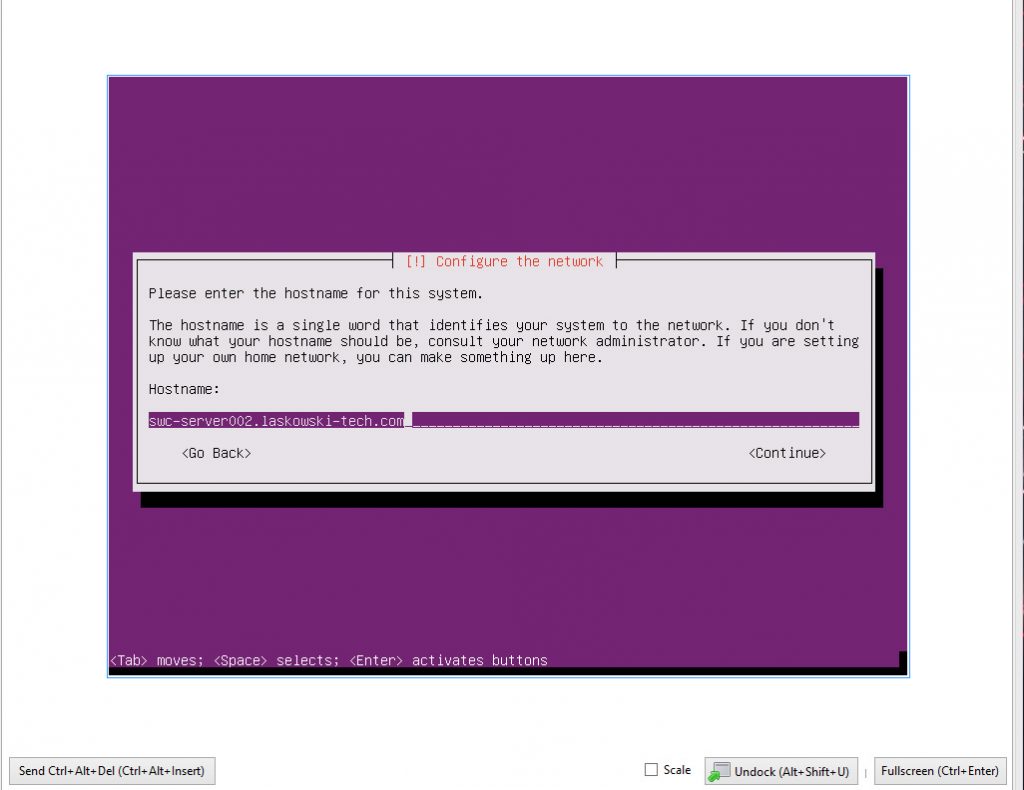
Make sure that when you set up the server hostname that you use a fully qualified domain name to prevent issues down the line.
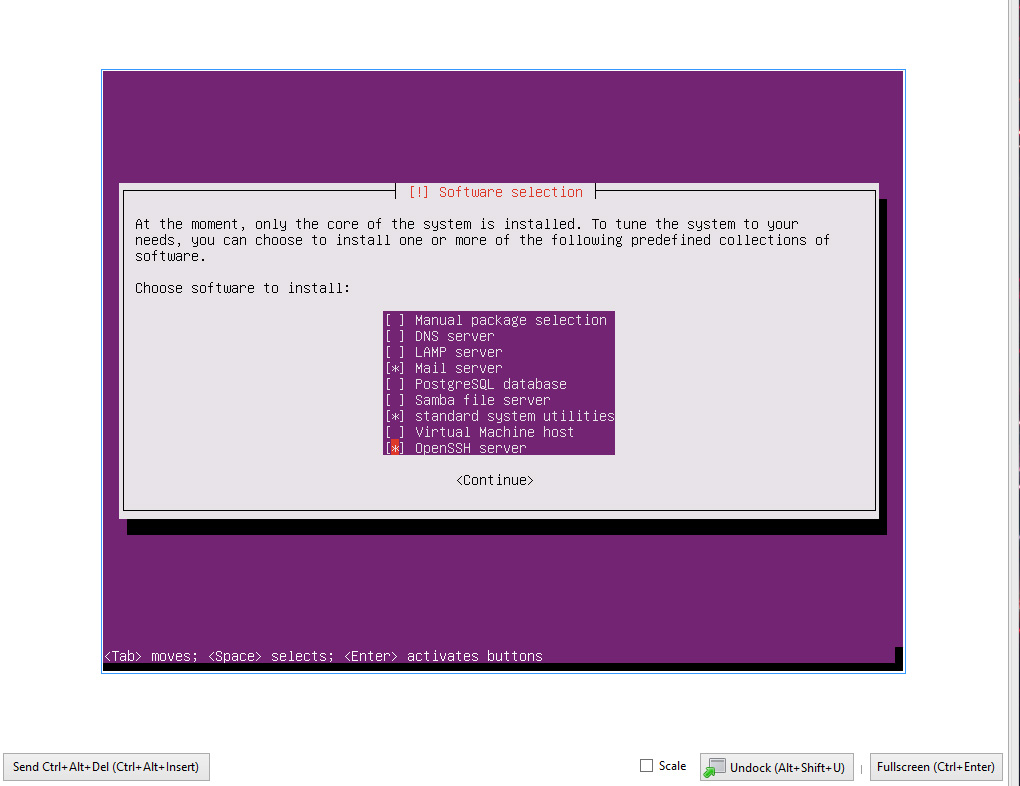
When it gets to the software selection phase select the Mail server and Open SSH packages.
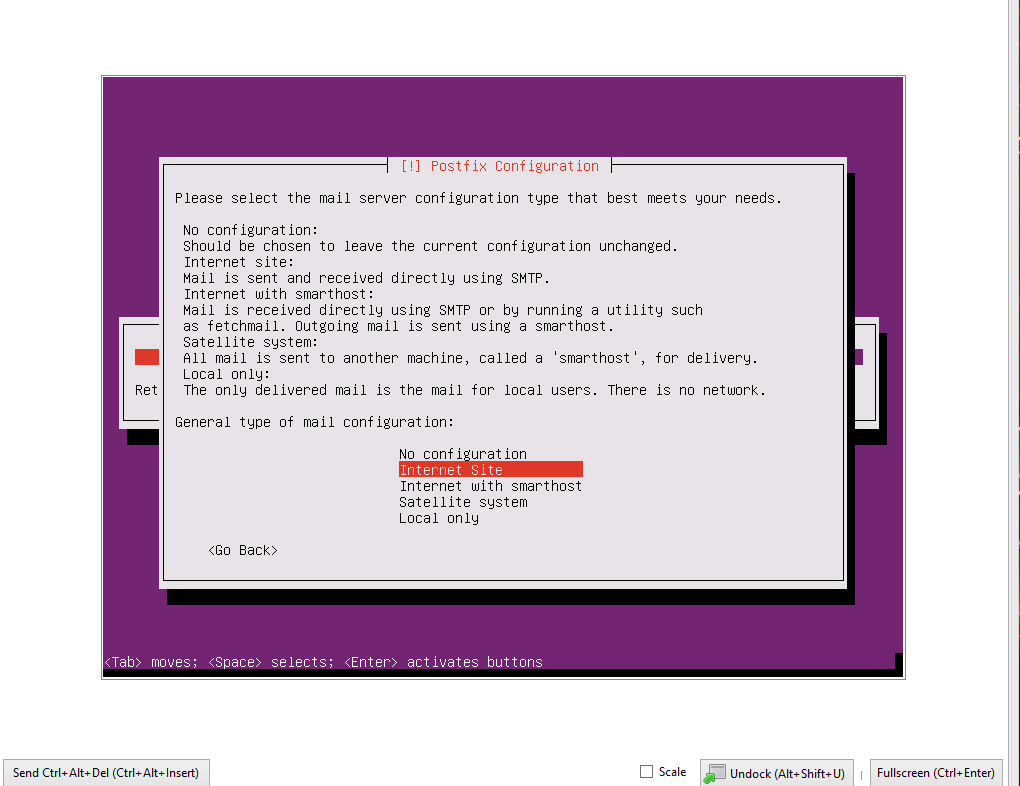
While setting up the mail server use the internet site option.
After that the server should be good to reboot, after reboot get on the console or SSH your preference.
Part 2 Mail issues: #optional
So in my case here I’m deploying in my home lab behind an residential ISP so I need to do some tomfoolery to make sure my mail gets to its destination.
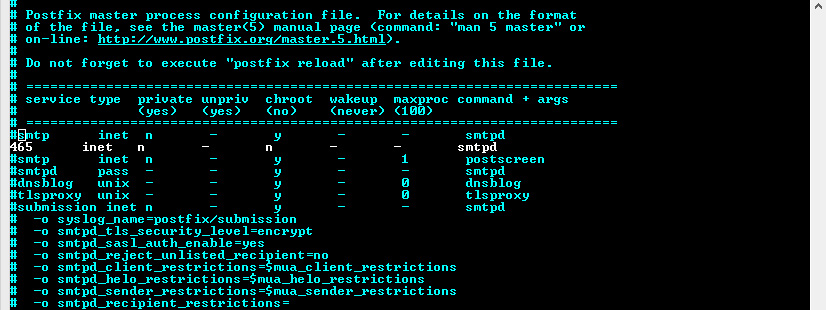
First if you need to change the port that postfix is sending and receiving on edit the following file:
sudo vim /etc/postfix/master.cf
In my file I commented out the standard line:
#smtp inet n - y - - smtpd
And put in:
465 inet n - n - - smtpd
This sets it up to listen on port 465, adjust to port required.
Next I opened up the following file:
sudo vim /etc/postfix/main.cf
and added the following:
transport_maps = hash:/etx/postfix/transport
After that create said file:
sudo vim /etc/postfix/transport
And add in your appropriate conf for the domain sending to put in the proper port the mail server you are sending to, 25,465,587 commonly; 26,2525 if your ISP is blocking.
example.com smtp:example.com:[port]

Run the following for mapping to update:
sudo postmap /etc/postfix/transport
and reload:
sudo postfix reload
Mail should be ready to go at this point.
Part 3 setting up opencanary
Head over to https://github.com/thinkst/opencanary for details on this.
Run the following for download and installation:
$ sudo apt-get install python-dev python-pip python-virtualenv
$ virtualenv env/
$ . env/bin/activate
$ pip install opencanary
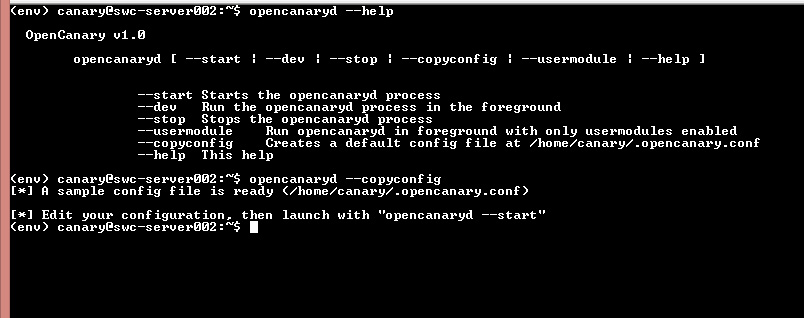
$ pip install scapy pcapy # optionalTo confirm proper install lets check the help menu:
opencanaryd --help
And then lets generate a conf.
opencanaryd --copyconfig
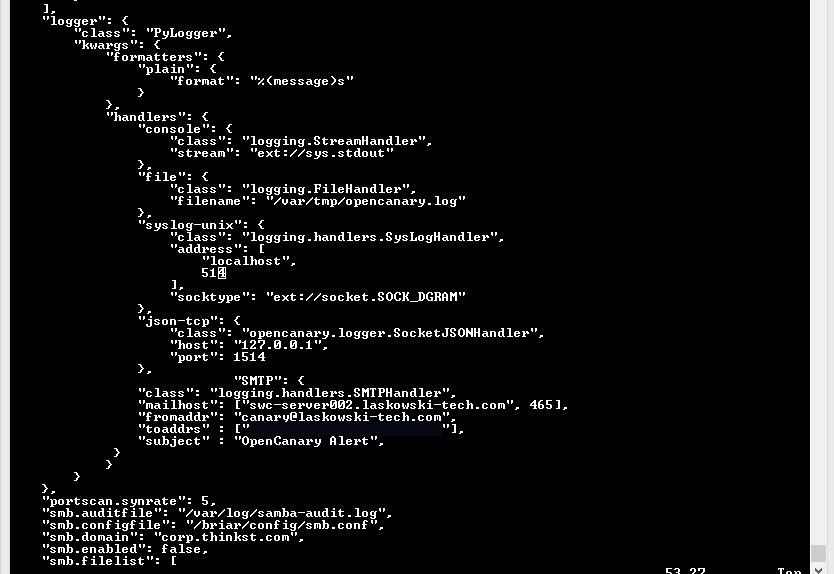
Then lets edit the new conf file:
vim .opencanary.conf
we are looking to add the following to the logger section of the conf.
"SMTP": {
                "class": "logging.handlers.SMTPHandler",
                "mailhost": ["authenticated.mail.server", 25],
                "fromaddr": "canary@yourdomain.com",
                "toaddrs" : ["youraddress@yourdomain.com"],
                "subject" : "OpenCanary Alert",
             }
Make sure to keep proper JSON formatting, I kept missing adding the , to the section prior to adding my SMTP section.
After that lets get things started.
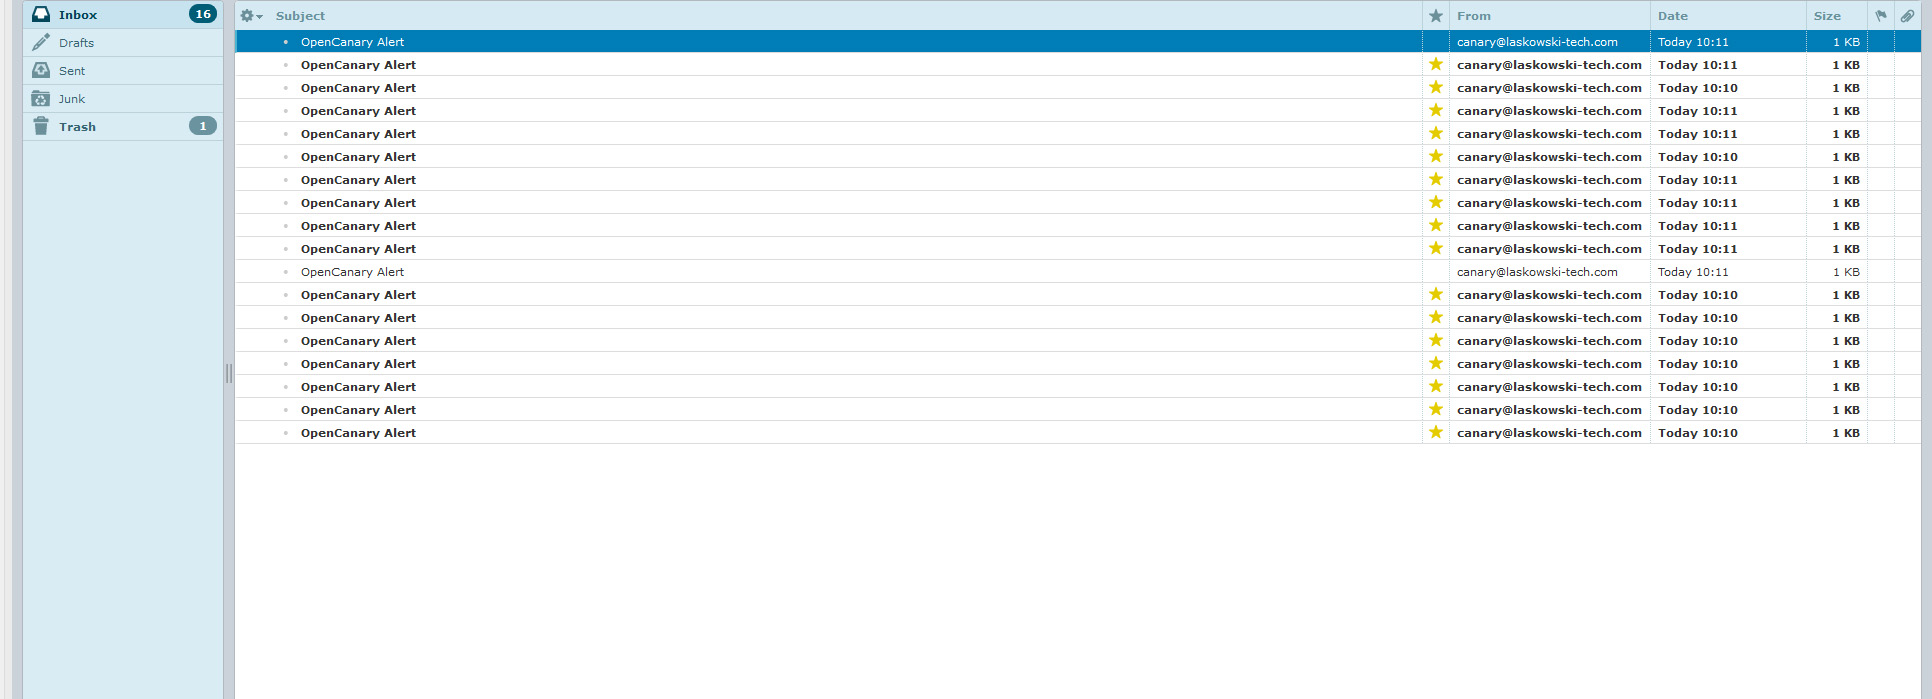
$ . env/bin/activate
$ opencanaryd --start
If everything worked as planned then you should be greeted by a flood of emails alerting to startup of the services.
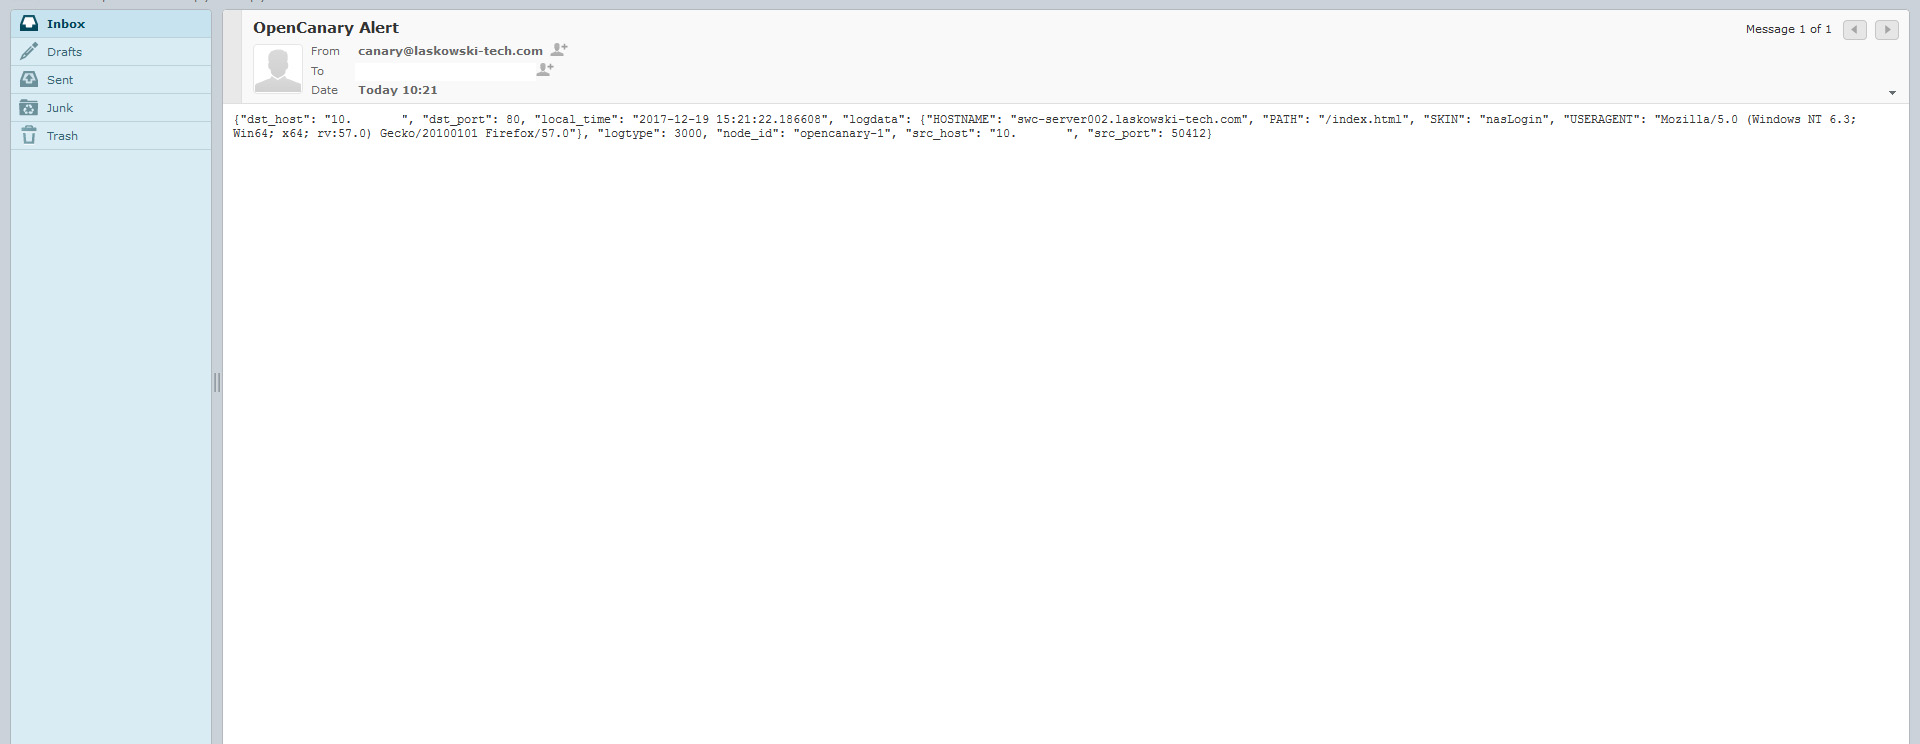
You should also be able to load in the browser the following at the hostname or IP depending on how you have your network configured.

This is the default synology NAS page. After hitting the site in the browser an email alert like the following should come in.
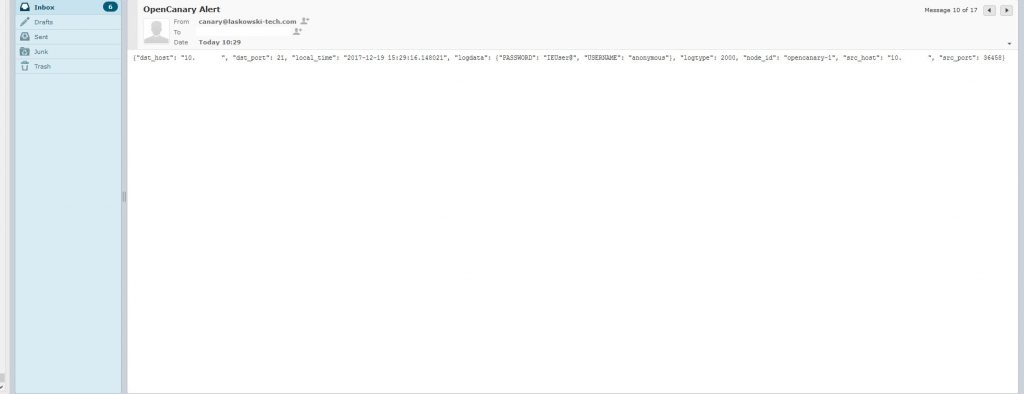
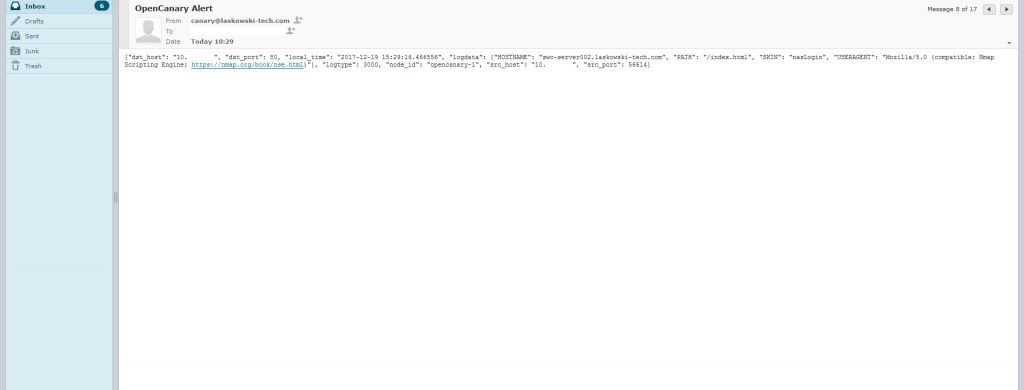
Hitting it with a standard port scan reveals the following ports on the system ports other than 22,110,143,465 have been set up by the canary.
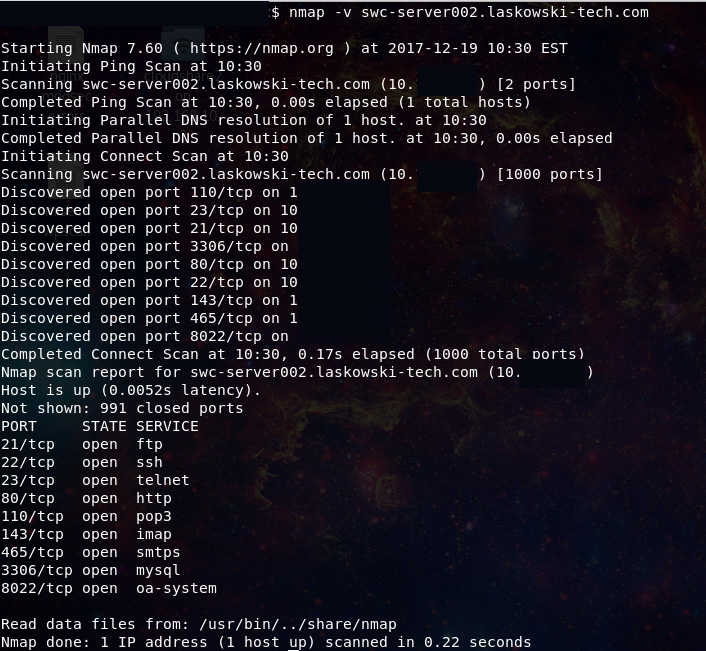
This activity should also generate alerts.
Now you should have a pretty good method to detect if someone is nosing around the internal network. There are several other services you can configure and other alerting options you can set up learn more about them here:
https://github.com/thinkst/opencanary
http://docs.opencanary.org/en/latest/index.html
Have questions feel free to hit me up @laskow26 on twitter.